

Route Webflow MCP traffic through Formal to control and log what AI agents do in Webflow: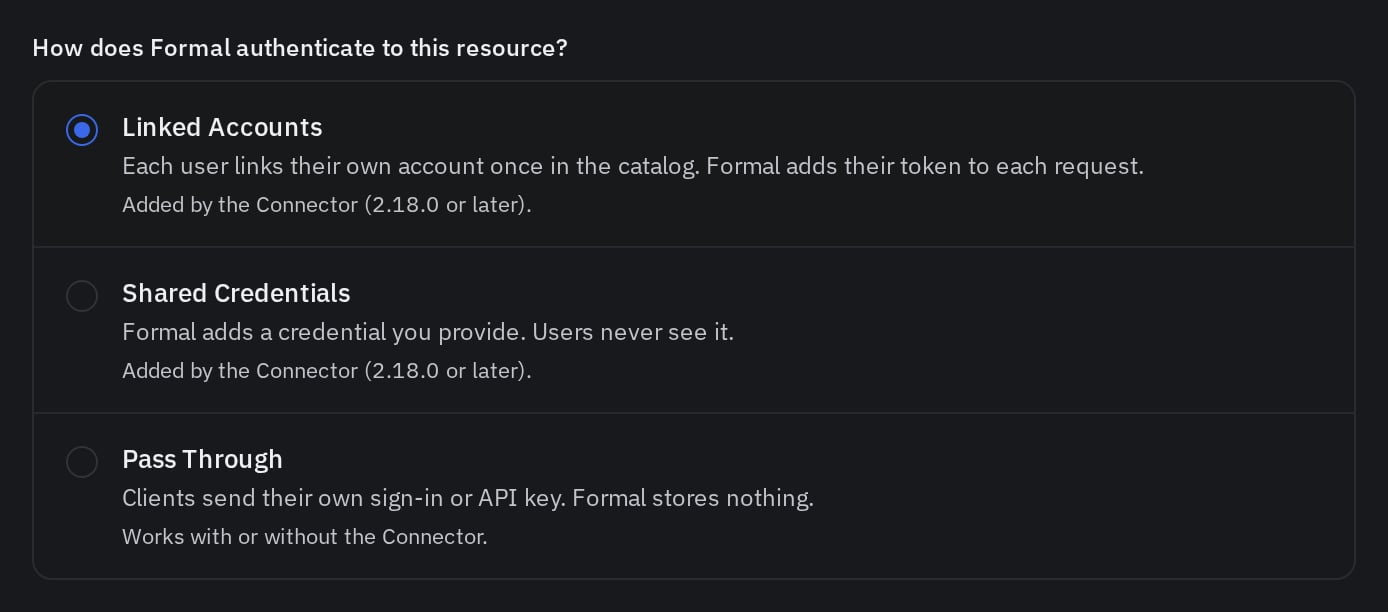
- Block risky tools, such as
update_collection_item. - Mask sensitive data in tool results, such as emails and phone numbers in
list_collection_itemsresponses. - Keep credentials at the Connector, so users and agents never see Webflow tokens.
- Log every tool call with the user, the MCP client and its parameters.
0. Prepare your Connector
The Connector needs an MCP listener and a hostname with wildcard DNS and TLS. Set them up once by following Deploy the Connector. Every MCP server reuses them.1. Add Webflow MCP server to your Resources
- UI
- Terraform
- Pulumi
- API
 UI
 Terraform
 Pulumi
- Open the Admin Catalog and click Add MCP.
- Select the Webflow template.
- Enter a DNS-label Name, such as
webflow. - Choose the Space containing your Connector, such as
default. - Configure upstream authentication as described below, then save.
No Connector is in this server's Space.2. Setup Authentication
- Linked Accounts (Recommended)
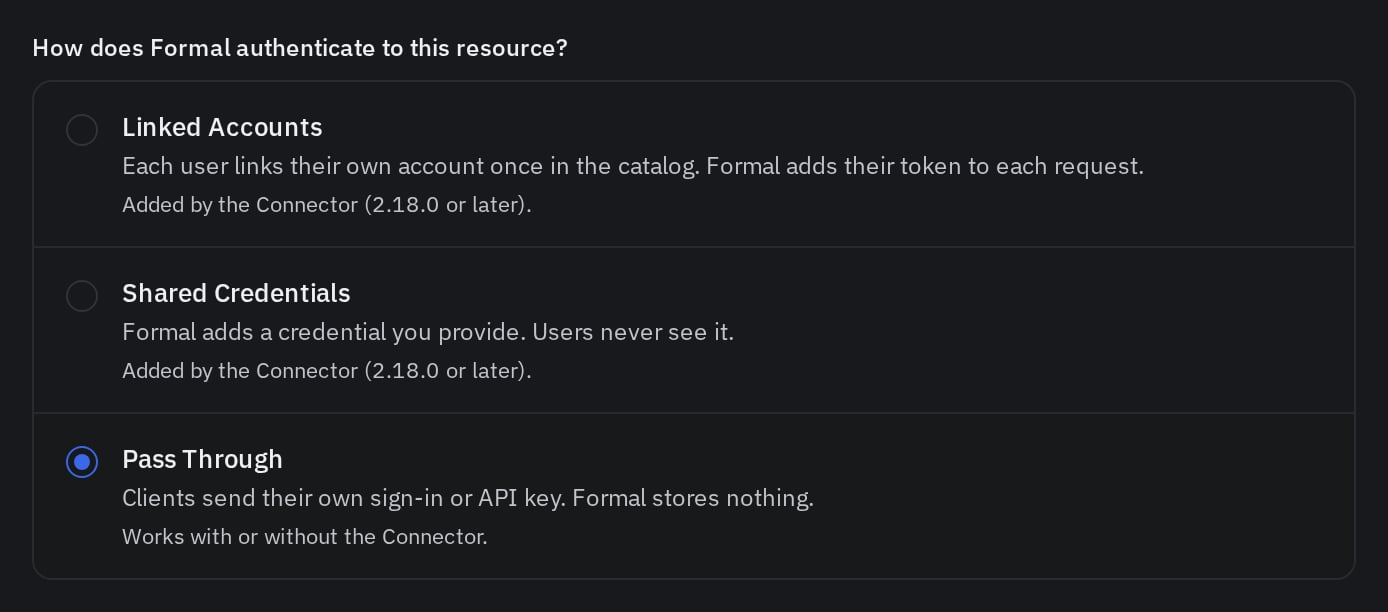
- Pass Through
Each user links their own Webflow account once in the Employee Catalog, and the Connector sends that user’s token to Webflow.
Formal’s App (default)
Formal has a registered OAuth app with Webflow, so you register nothing. Users see Formal on Webflow’s consent screen.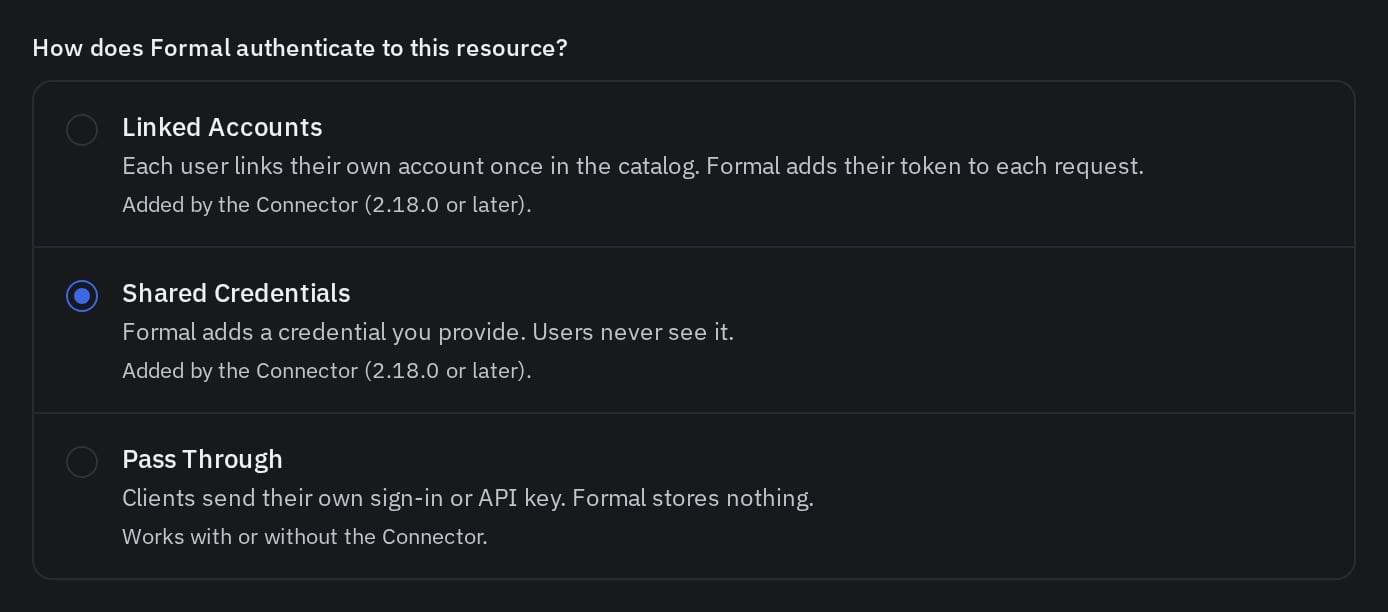
3. Route Endpoint traffic
Auth is managed at the Connector level when you use Linked Accounts or Shared Credentials, so the Endpoint needs to forward the MCP traffic to it. Laptops and VMs with the Formal Endpoint keep usinghttps://mcp.webflow.com/sse, and a network rule sends that traffic to the Connector.- UI
- Terraform
- Pulumi
- API
- Go to Network Rules and create a rule named
webflow-mcp. - Paste this expression, set the rule to Active, then save:
https://webflow.<connector-hostname>/mcp.
Find it in the Admin Catalog: open Webflow, then copy Connector address on the Configuration tab.4. Create policies
Tools
The Admin Catalog lists these tools for Webflow:Policies examples
- Block a tool
- Mask a tool's output
This policy blocks the tools that change data, so agents can only read Webflow.
input.mcp fields and Rewrite Action for body rewrites.5. Check the logs
Open Logs and search forresource.name:webflow.
Each Webflow tool call is one request log with the user, the MCP client and the tool.
Open a log to see its tool parameters and the policies it triggered.
A blocked write shows the block policy and its message.
A masked search shows the rewrite policy.See Logs for search syntax and filters.Troubleshooting
The agent says Formal has no current sign-in
The agent says Formal has no current sign-in
The agent relays:
Formal has no current webflow sign-in for you. Link or re-link your webflow account in Formal…Cause: The user never linked Webflow, or the token expired and couldn’t be refreshed.Fix: Open the server in the Employee Catalog and link Webflow again.The agent says Webflow rejected your credentials
The agent says Webflow rejected your credentials
The agent relays:
webflow rejected your credentials. Link or re-link your webflow account in Formal…Cause: Webflow no longer accepts the linked token, for example after the user revoked access in Webflow.Fix: Link Webflow again from the Employee Catalog.Laptop traffic doesn't appear in Logs
Laptop traffic doesn't appear in Logs
Cause: The Endpoint isn’t running, or the network rule doesn’t match the client.Fix: Check the Endpoint is connected. The rule above only matches known agents. Other clients, such as a browser, reach Webflow directly unless the rule also matches them. See Network rules.
MCP clients can't connect directly yet
MCP clients can't connect directly yet
Cause: The Configuration tab lists the reason, most often
No Connector is in this server's Space.Fix: Edit the server and choose the Space containing its Connector.Next Steps
MCP Gateway
Configure Connector routing and downstream access
All MCP servers
Browse every MCP server template